I wrote a post a while back where I looked at the HA configuration of the NSX Autonomous Edge appliances https://bttech.uk/2023/07/03/nsx-autonomous-edge-ha/. I want to make use of that post and the environment configuration to use as a “stepping stone” if you will into this next post where I explore the configuration taken to extend a network into an SDDC running in VMware Cloud on AWS.
Building on the previous post, this post will assume the configuration that was in place there. That being 2 X NSX Autonomous Edge appliances are deployed and configured for HA, there is no VPN configuration place as of yet, only appliance configuration.
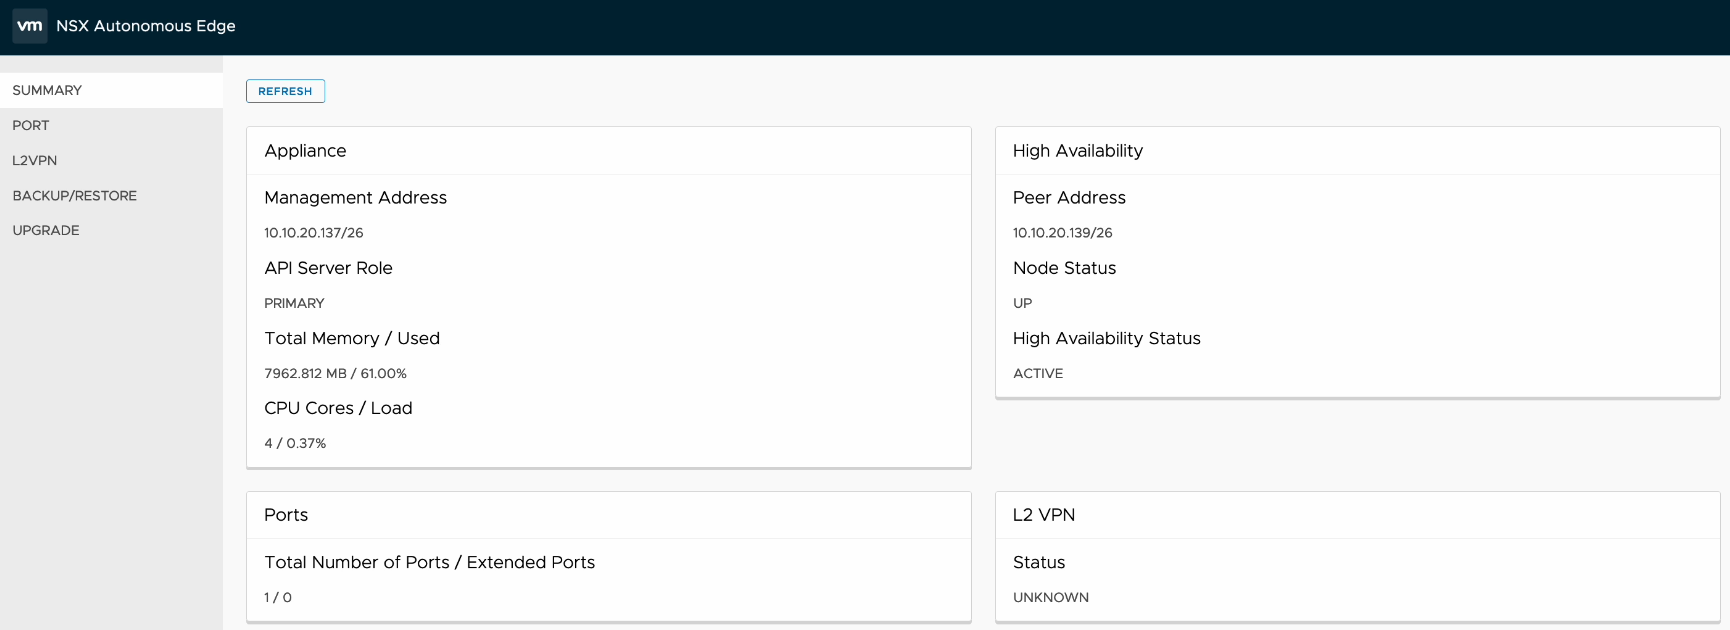
Just to re-cap, I have the primary NSX Edge node summary screen shown below – displaying the management address and HA configuration status.
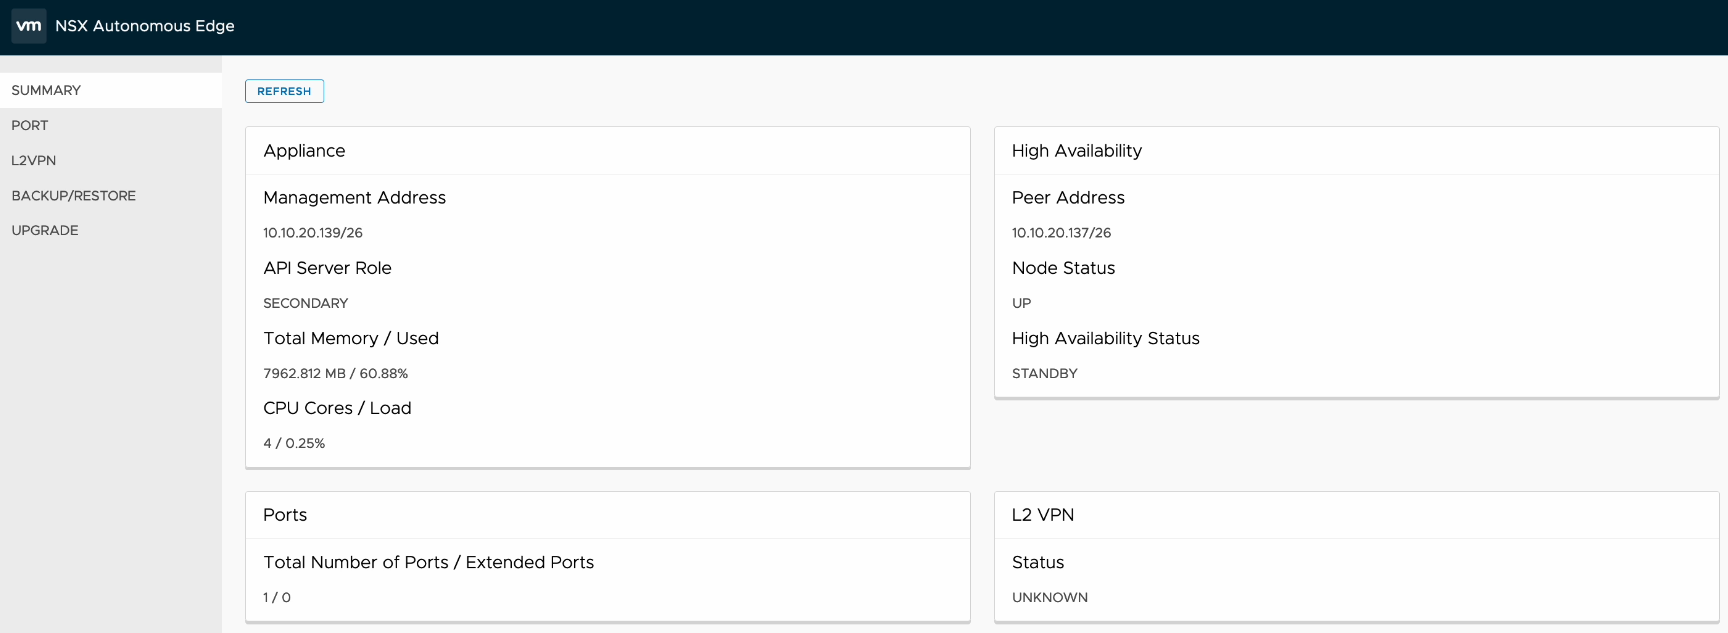
Then the same for the secondary node as well.
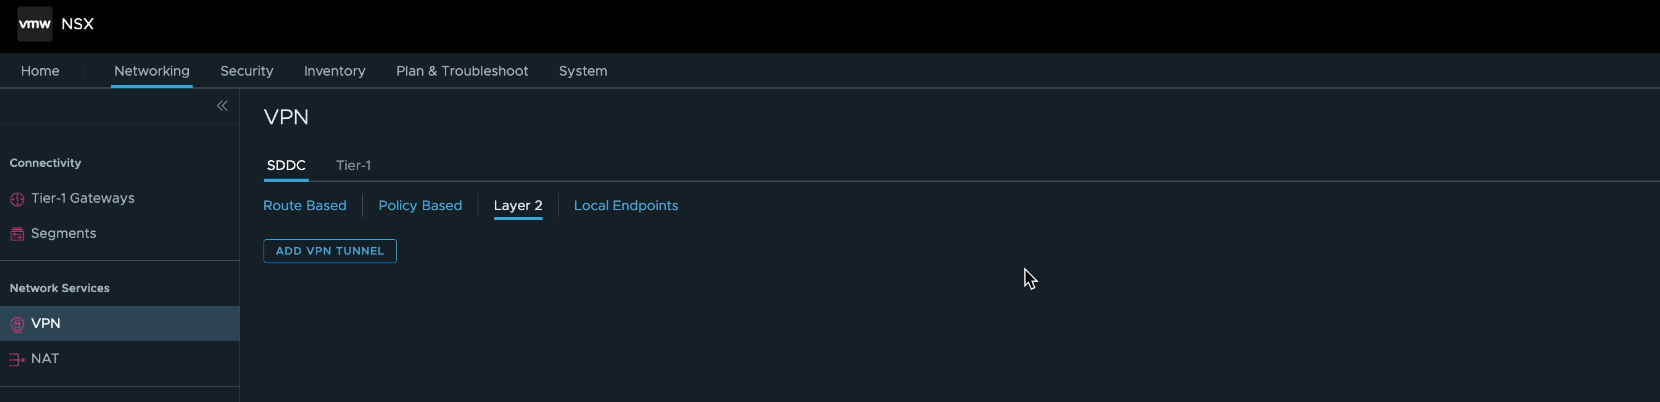
The first step I took to configure the VPN was to log into the VMware Cloud Console, expand the SDDC and launch the NSX Manager UI. From here, navigate to Networking > VPN > Layer 2, where if you are starting a fresh like me you should see something very similar to the below.
Next I added a VPN configuration.
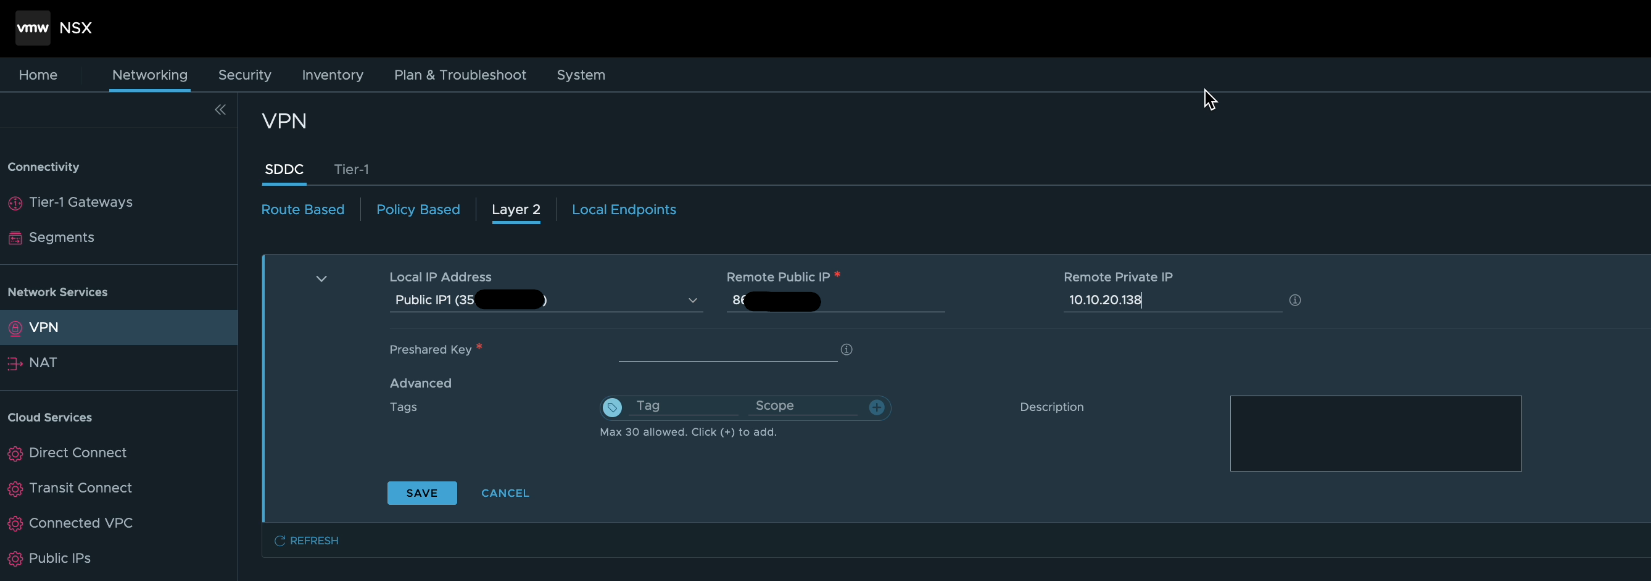
For the local IP address, I selected the public IP address that had been assigned to the SDDC, the remote public IP address is that of my lab where the VPN connection will be established from. The remote private IP address is the address configured on the “lrport_0” interface that was discussed in the previous post. I also configured a preshared key as well, just happens that is not populated in the above screenshot.
After a few moments, the VPN configuration is then shown to be ready with a status of “success”.
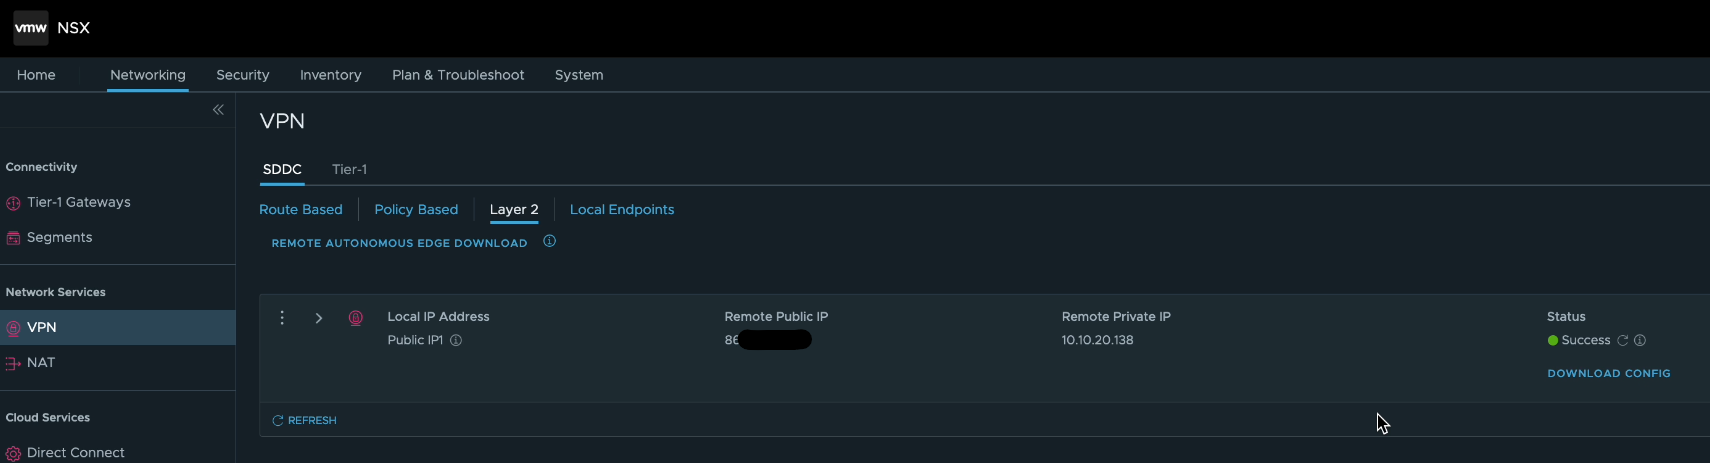
Using the download config link shown below status, grab the configuration text file that will be needed within the next step, this contains the peer code that we need to establish the VPN connection. I have included a screenshot of an older peer code just to highlight that which needs to be copied, essentially it is the next between the speech marks within the “peer_code”.

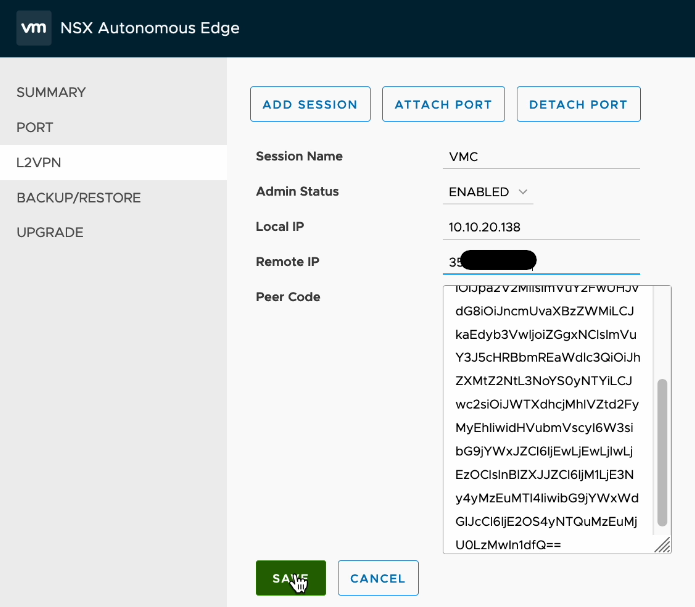
Moving back to the NSX Edge configuration page, navigate to L2VPN where we will carry out the next steps of configuration. As per the below example we first create a session, specifying the local IP (the “lrport_0” address, the public IP address from the VMC console as well as the peer code contained within the configuration file.
After a few moments, the session should report a status of UP. Note that the session will only show up on the active/primary NSX Edge appliance and not the secondary, this will still show as down.

Note also that we have an additional port showing now on the NSX Edge following successful connection to the VPN.

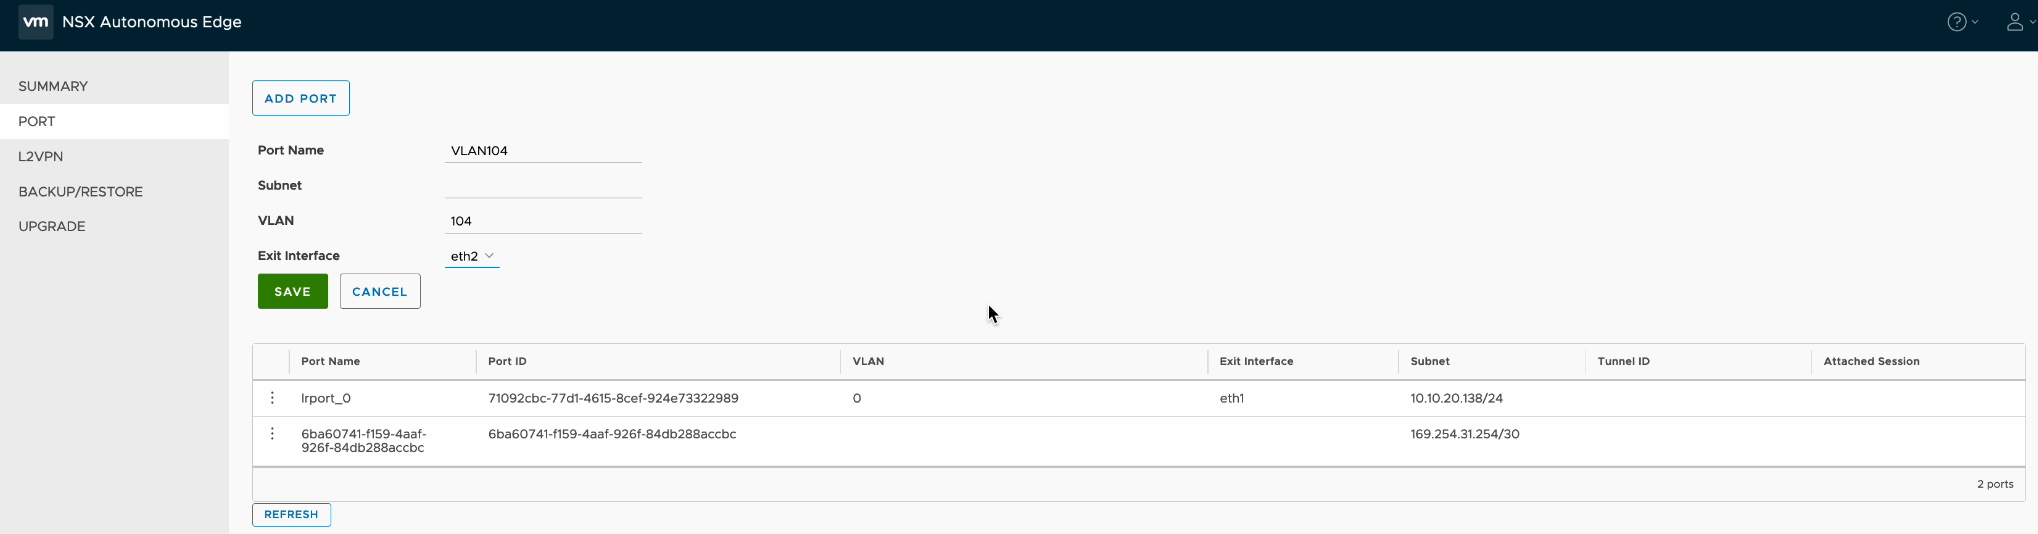
Next, I configured an additional port within the NSX interface, for this I wanted to extend a VLAN, so specified the port name as well as the VLAN I wanted to extend and assigned this to the trunk port on eth2.
I then moved back to the L2VPN configuration where I had to attach the newly configured port to the previously configured session.
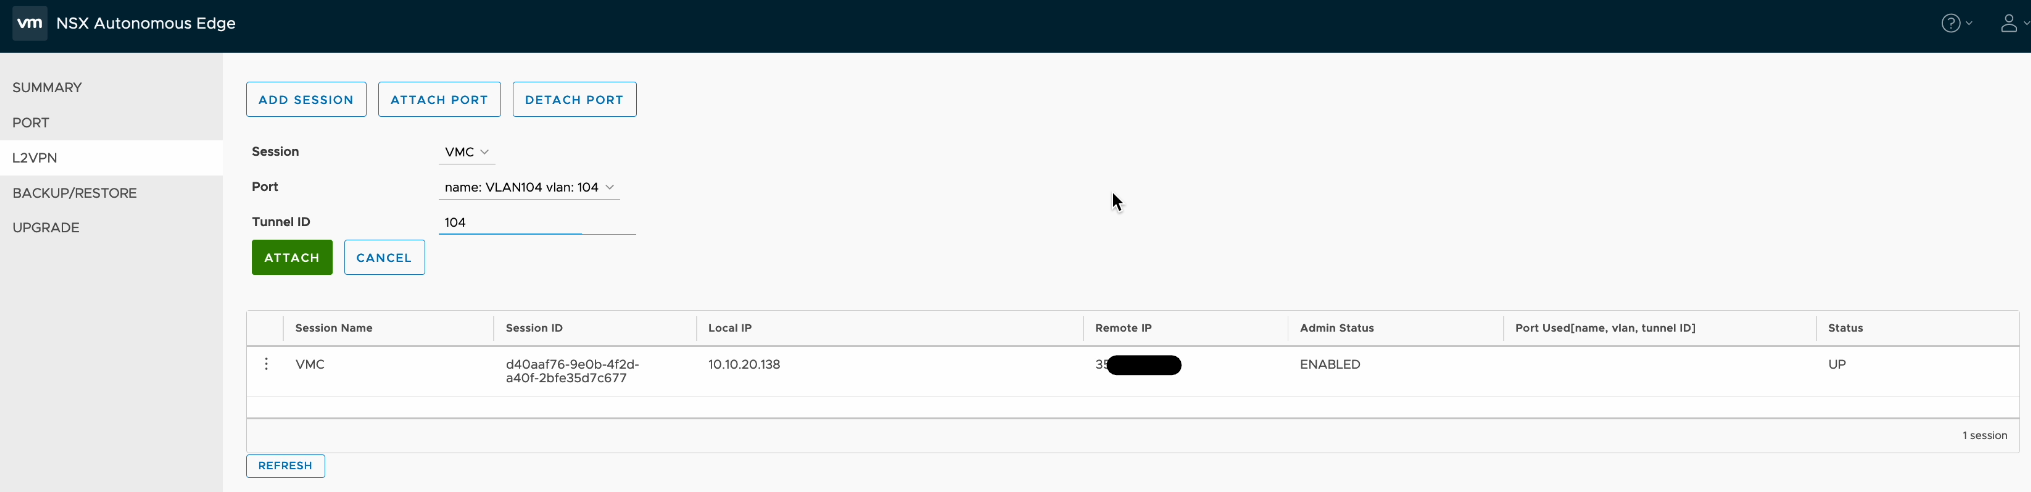
Once complete I could then see the VLAN configuration detailed within the VPN session.

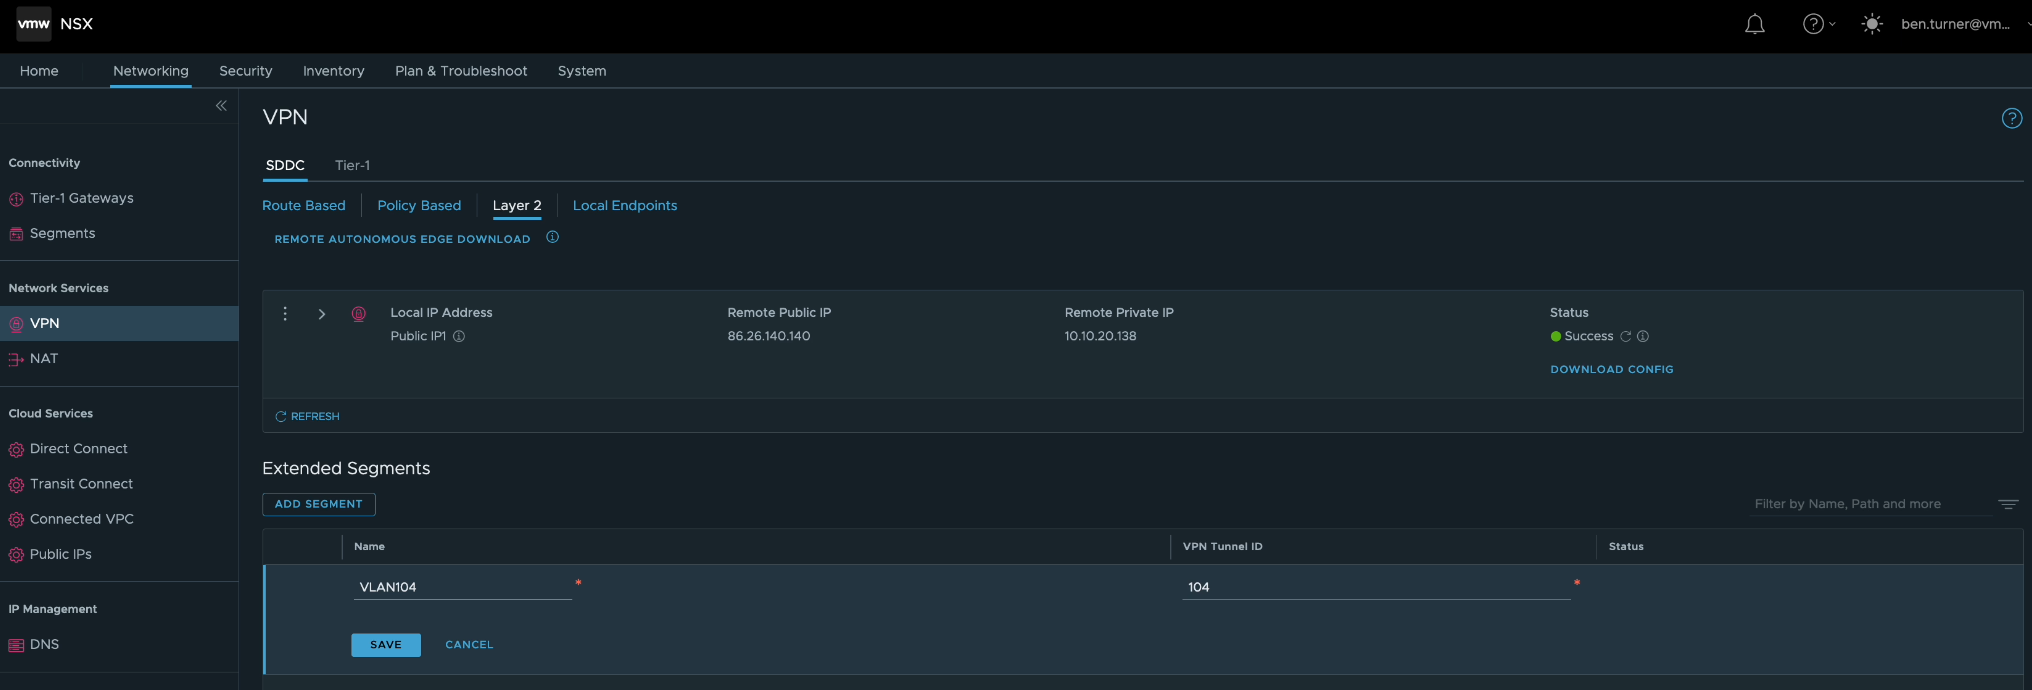
Moving back to the NSX UI within the VMC platform, it was now time for me to create the extended segment so I would be able to connect a VM in VMC to the L2 extension. I done this via the VPN configuration pane, as shown below. Specifying a name for the segment and the VLAN ID.
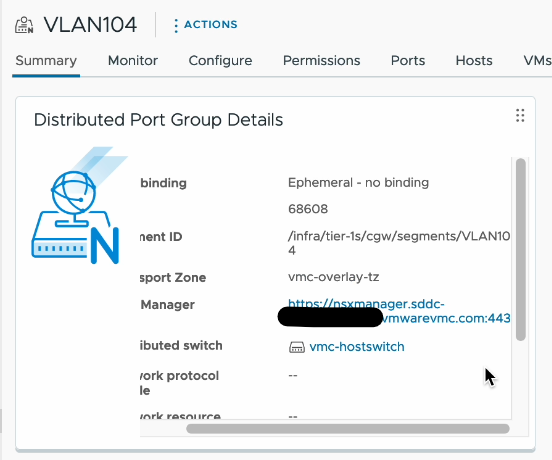
I was then able to confirm the creation of the new segment via the vCenter UI.
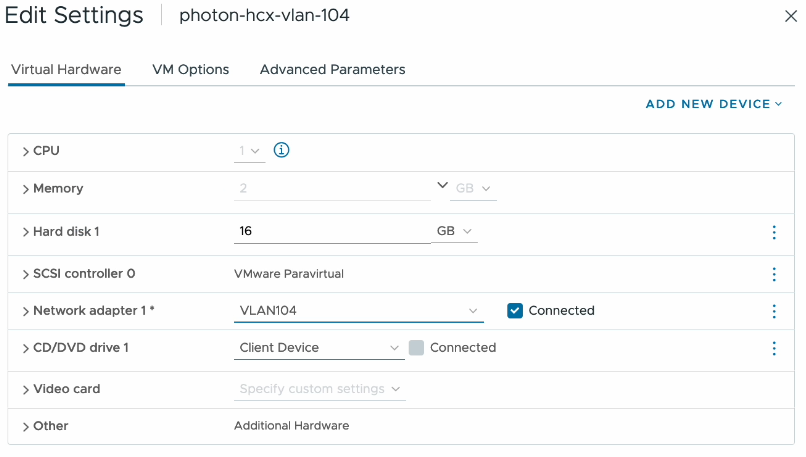
Final step in the puzzle here was to then connect one of my test workloads to the new segment.
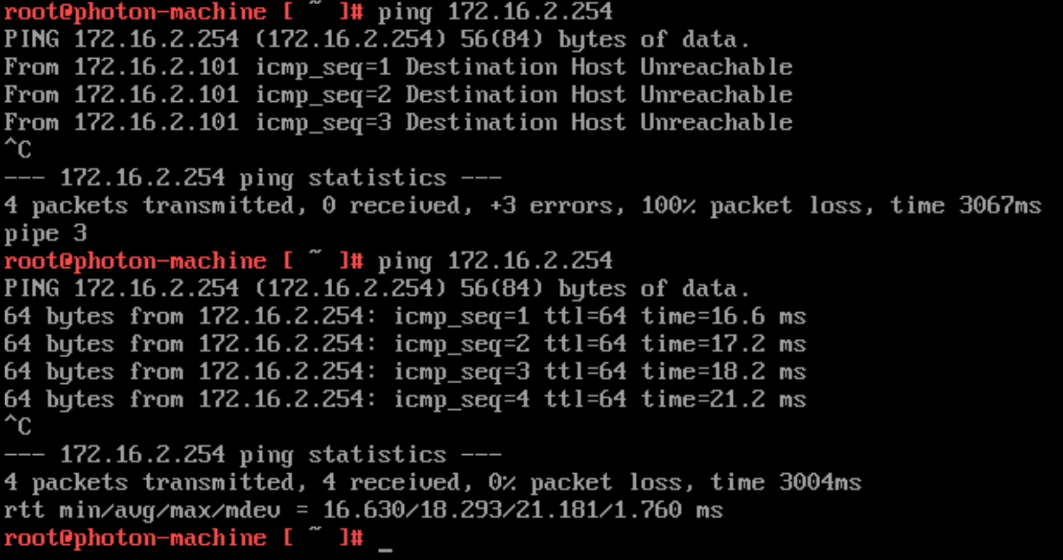
A quick ping to the GW test then confirms that the VM in VMC is connected to the same L2 network as that on-prem with the before and after of the L2VPN configuration shown below.
One final look back at the port configuration within the NSX Edge appliance and we can see the VLAN 104 port detailed along with the associated session that this port is attached too.