
I recently had a conversation around the replacement of SSL certificates on the HCX Connector Appliance that is deployed on-prem.
Looking into the documentation for this, it details the steps to upload the certificate but not those required to generate the certificate Updating the Local Server Certificate on an HCX Manager (vmware.com) so I thought I would quickly document the steps I took in order to replace the SSL Certificate.
In the past I have generated certificate signing requests (CSR’s) for VMware Aria Operations for Logs, formerly VMware vRealize Log Insight via the command line on the appliances. I have followed the same steps here as, I didn’t have a machine powered up with OpenSSL installed. First open an SSH connection to the HCX Cloud Connector appliance on-prem with the admin and switch into ‘root’ with the following command su -. I then created a directory to work in, where we will store the CSR, the Key file and the configuration file, move into the working directory and create the CFG file with the following command touch hcx_cert.cfg. Edit the CSR file with your preferred editor, I lean towards VI vi hcx_cert.cfg. I have included the contents of my configuration file below for reference.
[ req ]
default_md = sha512
default_bits = 2048
default_keyfile = hcx_cert.key
distinguished_name = req_distinguished_name
encrypt_key = no
prompt = no
string_mask = nombstr
req_extensions = v3_req

[ v3_req ]
basicConstraints = CA:FALSE
keyUsage = digitalSignature, keyEncipherment, dataEncipherment
extendedKeyUsage = serverAuth, clientAuth
subjectAltName = DNS: cloudconn.bttech.local, IP: 10.10.20.151

[ req_distinguished_name ]
countryName = UK
stateOrProvinceName = Hampshire
localityName = Hampshire
0.organizationName = BTTECH
organizationalUnitName = Lab
commonName = cloudconn.bttech.local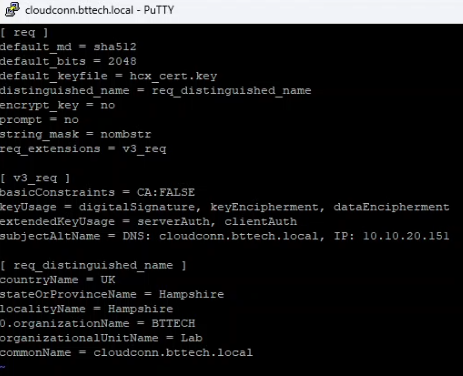
Save the configuration file using esc:wq! and move onto the next step – creating the required key file. This is done with the following command.
openssl genrsa -out hcx_cert.key 2048
Then generate the Certificate Signing Request (CSR) for issue to our certificate authority.
openssl req -new -key hcx_cert.key -out hcx_cert.csr -config hcx_cert.cfg
We now need to grab the contents of the CSR in order to submit to the CA. Open the CSR file using ‘cat’ on the HCX SSH session.

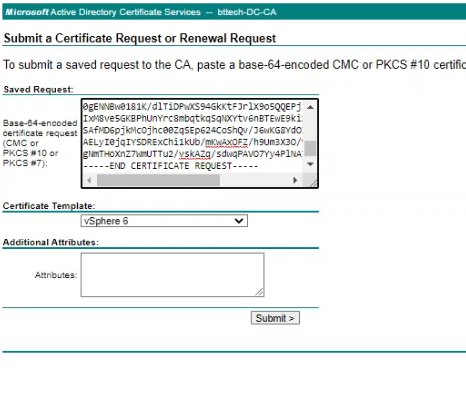
Browse to your CA, in my case as this is an internal Microsoft CA this is https://dc.bttech.local/certsrv, select request a certificate followed by advanced certificate request. Paste the content of the CRF file into the request window and select the appropriate certificate template. In my lab, the name is vSphere 6 – shows how long this CA has been around for now!
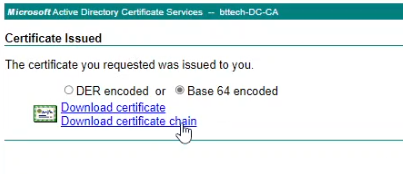
Once the request has been submitted, you should then have a certificate issued, select Base 64 encoded and download the certificate chain.
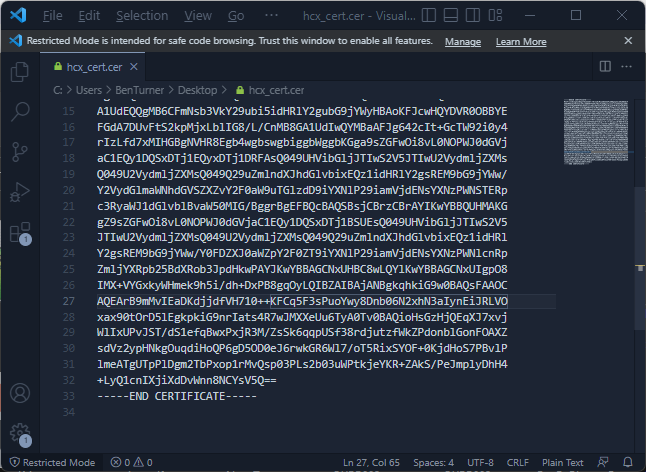
From the downloaded P7B container, you can then export the certificate file that has been issued for the HCX Connector Appliance.

Open the certificate file in a text editor and copy the contents to your clipboard.
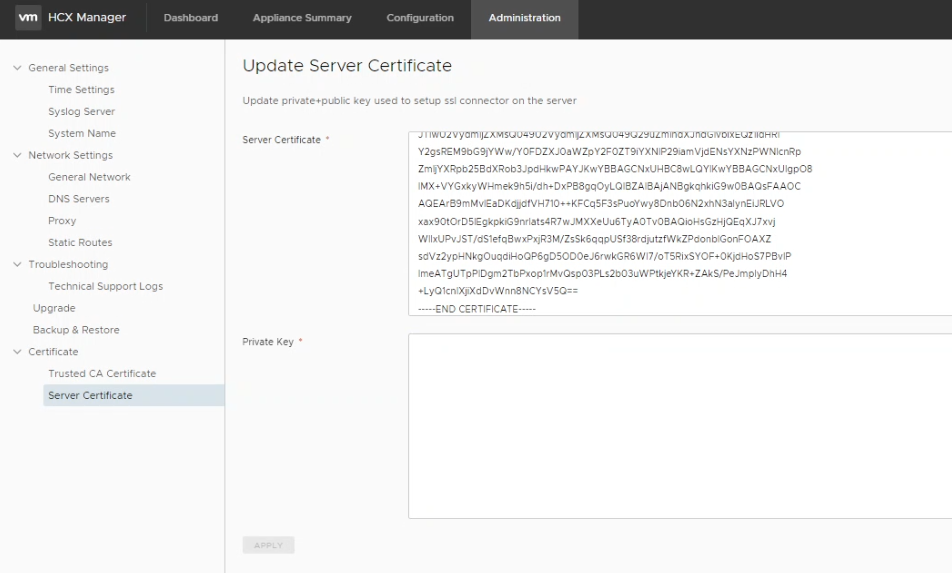
Connect to your HCX Connector appliance on the admin interface available on port 9443, navigating to Administration > Certificate > Server Certificate and paste the content of the certificate in the server certificate panel.
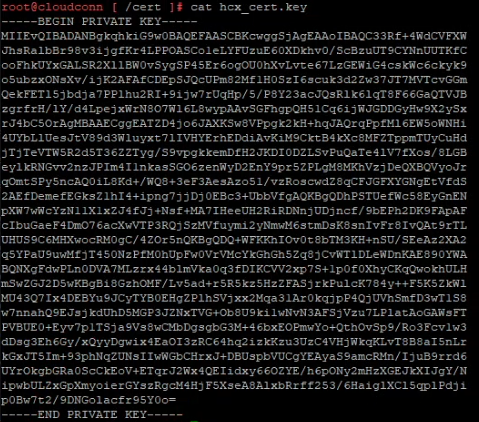
Back once again to the SSH session on the HCX Connector Appliance, open the key file we created earlier and copy the content of this into your clipboard.
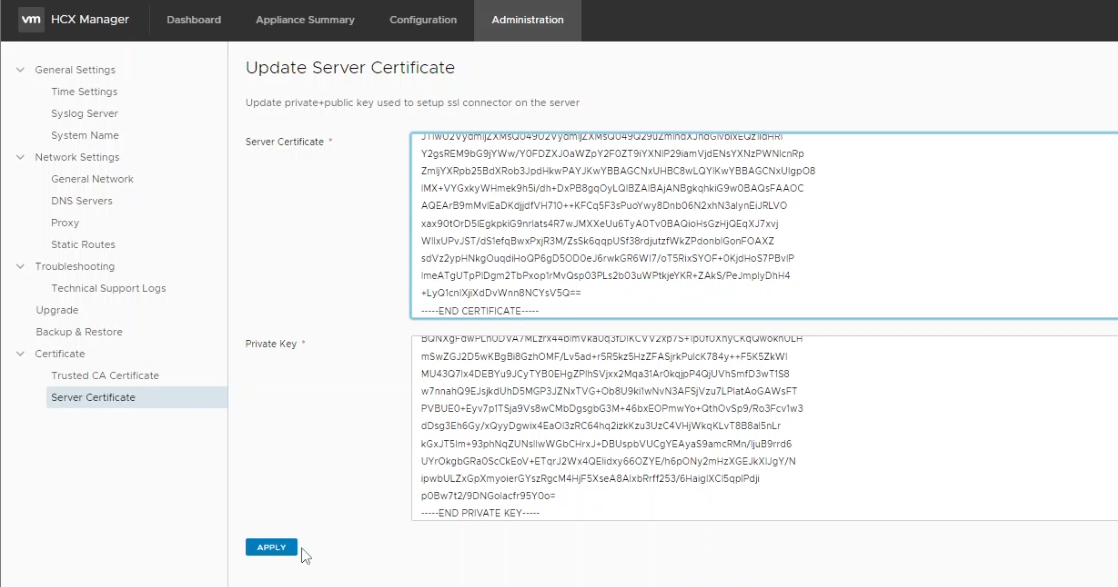
Paste this into the private key panel back in our HCX Connector Appliance, when completed, click apply.
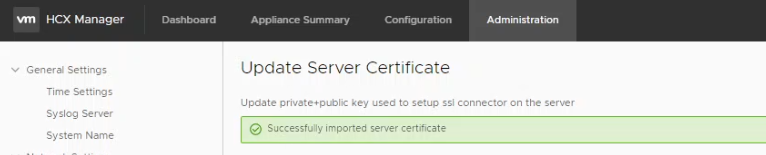
All being well, we should then see a prompt confirming the successful deployment of our new certificate.
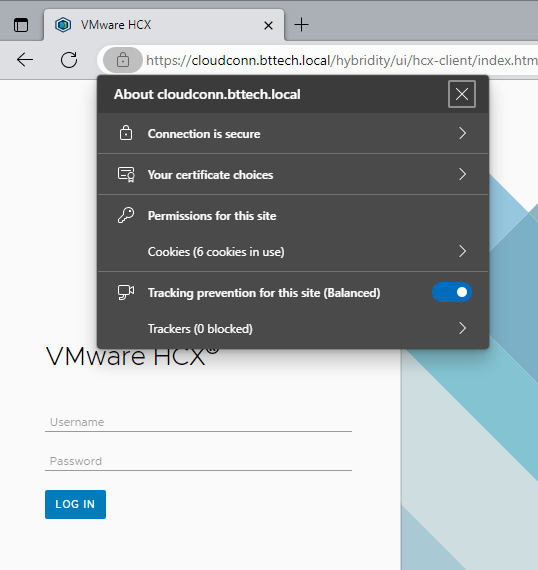
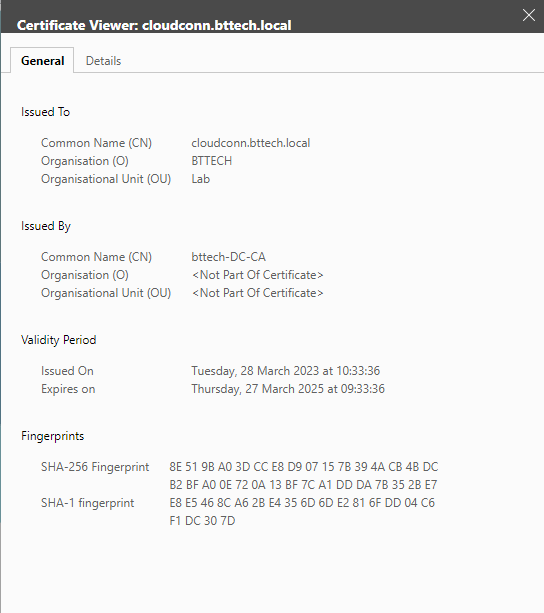
Connecting now to the hybridity interface we can see that the certificate is indeed reporting as valid
With the certificate being issued via the internal CA.
An note of importance on this one, you will now need to monitor the SSL certificate expiry as HCX will not be able to automatically rotate the SSL certificate as it can do with the self signed certificates!